How do I get more precise AI images?
Describe relationships, not only objects. Include composition, lighting, material, typography, style, and the decisions that must remain clear.
Imagine Image AI guide
Imagine Image AI is an AI image generator and editor for real creative work. Start from text, images, or references, then generate, select, edit, resize, and reuse the result.
This guide explains how to move from a loose idea to a precise visual direction.
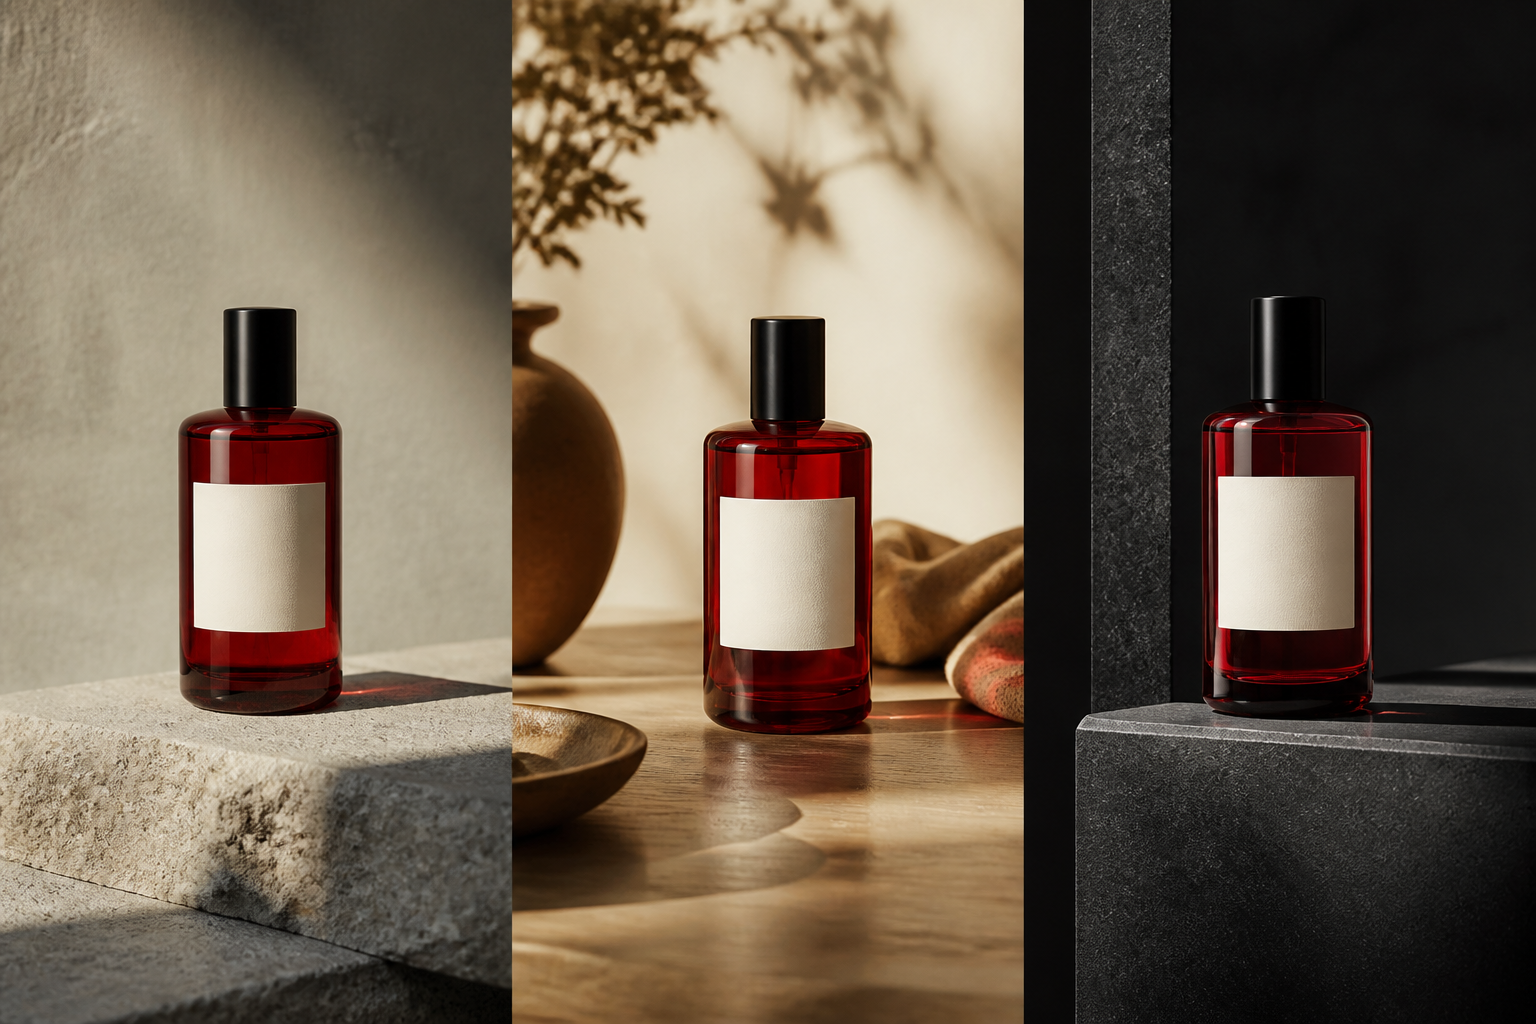
A brief becomes a visual direction
Use the image to inspect what works, name what needs to change, and carry the useful decisions into the next format, scene, or variation.
The creative loop
Step 1 · Write the brief
Instead of stacking generic adjectives, describe the decisions that make the image useful: what is in the frame, where it sits, how it is lit, what it is made of, and what words belong in the design.
01
SubjectWho or what should be visible? Include defining traits.
02
CompositionDescribe position, scale, perspective, and spatial relationships.
03
TreatmentAdd lighting, materials, color, camera language, and style.
04
TypographyWrite the exact words and explain hierarchy and placement.
05
ContextExplain the environment, mood, audience, or intended use.
06
ConstraintsSay what must remain clear, recognizable, or unchanged.
Prompt example
“Editorial poster of a woman in a silver jacket standing behind a red sports car outside a brutalist house at dusk. Use warm edge light, reflective metal materials, a restrained red-and-slate palette, and place the headline ‘FUTURE DRIVE’ above the composition.”
Why it works
Step 2 · Add references
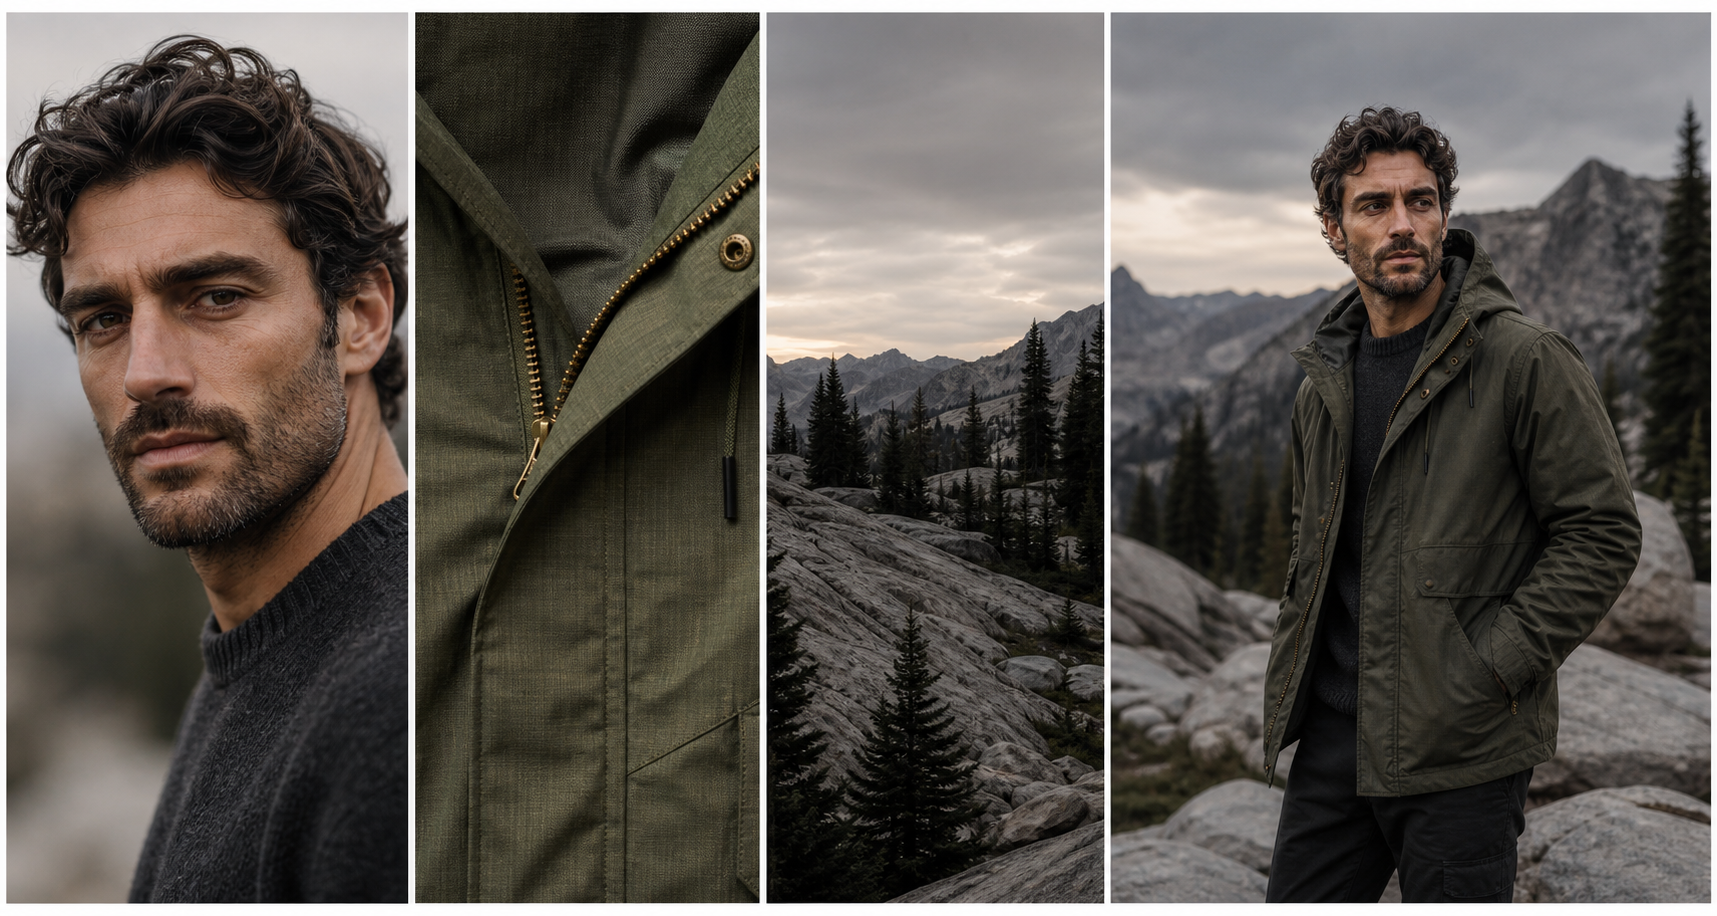
Multiple references are most useful when each one has a role. Do not upload a pile of images; explain which visual decision each reference should bring into the result.
Step 3 · Edit precisely
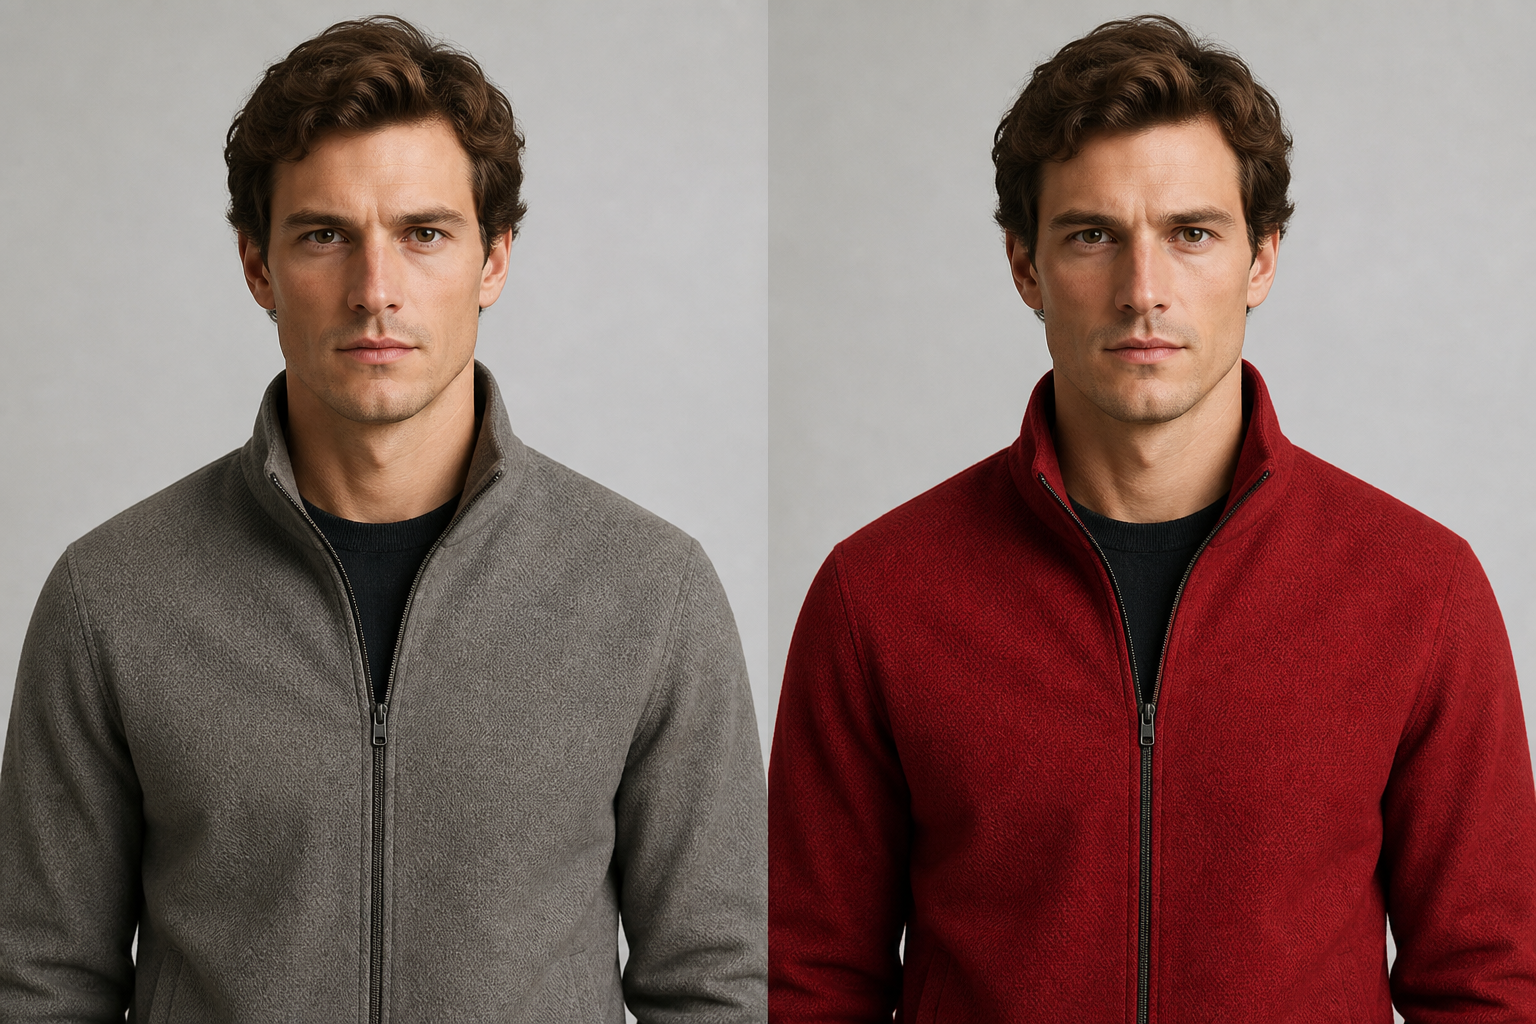
When a result is close, do not start over by default. Describe the target change in plain language. For an even more precise edit, select the object or region first.
Imagine Image keeps the surrounding composition, subject identity, and visual context while applying the instruction.
Step 4 · Adapt and deliver
Use Smart Resize to recompose an image for a new aspect ratio, create variations for different messages, remove the background for reuse, and preserve the product or character across a series.
1:1 · Post
4:5 · Feed
9:16 · Story
01
Smart ResizeExtend the scene and adapt the composition instead of cropping.
02
VariationsExplore another pose, message, material, or creative direction.
03
Background removalTurn the subject into a reusable transparent asset.
04
ConsistencyKeep the visual identity recognizable across the set.
Step 5 · Start from a task
Templates turn a model capability into a ready-made creative workflow.
Browse the workflow library →Background change, object removal, retouch.
Studio shot, lifestyle scene, variations.
Poster, social ad, campaign visual.
Icon, mascot, sticker, illustration.
Character, prop, environment, item set.
Combine references, editing, and formats.
Describe relationships, not only objects. Include composition, lighting, material, typography, style, and the decisions that must remain clear.
Select the meaningful region, then state the desired change. Use words such as replace, remove, restyle, adjust, or add.
Assign each reference a role and describe how those roles should combine. Character, outfit, product, style, and environment do not need to come from the same image.
Start with the idea, then keep shaping it until it becomes useful.
Create with Imagine Image AI